Use the following instructions to modify the location of a single polygon on the map.
Note: The following instructions only apply to records that have one presence polygon within a Searched Area and for which the newly drawn location contains is partially outside of the existing searched area. If the new Presence location is completely outside the existing Searched Area, use these instructions instead.
Step 1: Open the Presence Record that you would like to move or modify the location of
- Use the Find tool or Zoom to the location on the map and identify the feature you want to edit.
- Click on the "Details" button next to the record in the Table View in the Map to open the record
Step 2: Edit the Record
- Click on Edit in the upper left-hand corner of the record
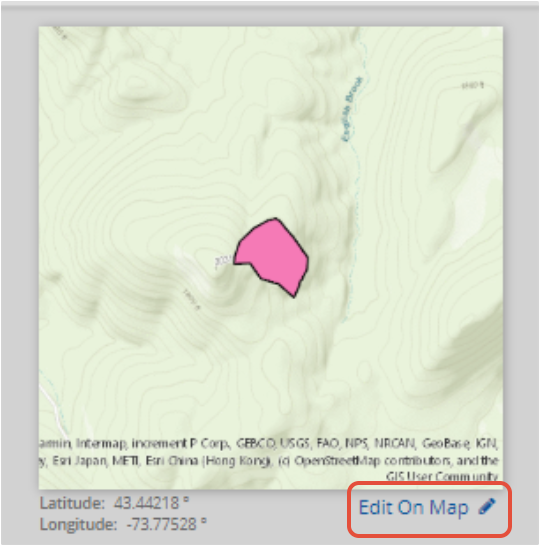
- Click "Edit on Map" underneath the Map in the record to begin the editing process.
Note: If you don't see the "Edit" button in the record, you don't have permissions to edit this record. Contact you Jursidiction Admin for more information.
Step 3: The Map will zoom to the location of the shape that needs to be moved (it may take several moments for the map to zoom to the location). The application is wanting you to edit the location of the Presence Record first, however, because we want the Presence Record to have the same shape as the Searched Area, we need to bypass this step and hit Next.

Step 4: We now want to edit the Searched Area, so in the Summary window, click the "Edit" button next to the Searched Area Record

Step 5: The Draw Searched Area dialog will open. Either select Redraw or Edit depending on what you would like the new Searched Area and related Presence Record to look like

Step 6: Edit or Redraw your Searched Area. When you are done hit Save. The application will complete the Searched Area, but you will receive the following message: Searched Area must contain all presences. This will need to be resolved before record completion. This is okay as we will fix this now, hit Next.

Step 7: The record summary will appear, but you will notice that you cannot hit Complete because we need to fix the Presence Record first. Hit Edit next to the Presence Record

Step 8: The Presence Record window will open. Select the "Edit" tool from the Presence Record you will be editing.
Step 9: The Draw Presence window appears. The easiest way to create the new Presence shape so that it matches the Searched Area is to select "Redraw"

Step 10: Draw a simple box/shape that falls completely outside the Searched Area.

Step 11: When you complete the polygon, you will see the Draw Presence window reappear and your Presence Shape completely clipped to the Searched Area, with the following message: Warning: Drawing was clipped to fit inside the Searched Area. This is what we want. Hit Next.

Step 12: The completed Presence Record will show in the Window. Hit Next to go the Summary page.

Step 13: The Summary Page appears and the error message is gone. Hit Complete to finish editing the record.

Step 14: Your newly edited record briefly appears on the screen and then the Presence record will automatically open back up.
